Switching to propane can be an excellent decision for your home, offering a reliable and efficient energy source. However, the process from installation to the first fill can seem daunting for new propane users. This comprehensive checklist will guide you through each step, ensuring a smooth and safe transition.
Table of Contents
1 ) Assess Your Propane Needs
Before diving into the installation, evaluating your energy requirements is crucial. Consider the appliances you intend to power with propane, such as:
- Heating systems
- Water heaters
- Kitchen appliances (stoves, ovens)
- Fireplaces
- Outdoor grills and patio heaters
Consult with a propane supplier to determine the appropriate tank size based on your usage.
2) Choose a Reputable Propane Supplier
Selecting a reliable propane supplier is essential. Look for companies with good reputations, competitive pricing, and excellent customer service. It is also beneficial to choose a supplier that offers comprehensive services, including tank installation, maintenance, and emergency support.
3) Site Inspection and Tank Placement
Once you’ve chosen a supplier, schedule a site inspection. A professional will assess your property to determine the best location for the propane tank. Considerations include:
- Safety regulations and local codes
- Proximity to your home and appliances
- Accessibility for delivery trucks
- Aesthetics and landscaping
4) Tank Installation
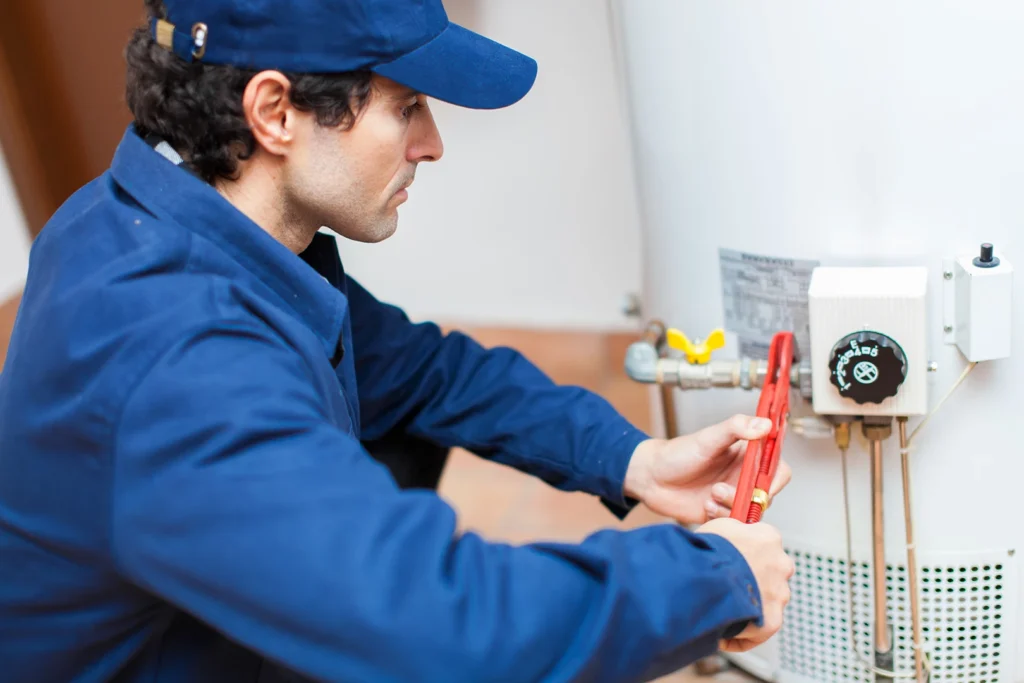
Professional installation is critical for safety and efficiency. During installation, technicians will:
- Secure the tank on a stable base
- Install necessary piping and connections
- Conduct pressure tests to ensure there are no leaks
- Install safety devices like regulators and shut-off valves
5) Understand Safety Protocols
Safety is paramount when dealing with propane. Your supplier should provide you with safety information, including:
- How to detect a propane leak (distinctive rotten egg smell)
- Steps to take if you suspect a leak
- Proper storage and handling of propane cylinders
- Emergency contact numbers
6) Schedule Your First Fill
After installation, you’ll need your first fill. Coordinate with your supplier to ensure timely delivery. During the first fill, the delivery technician will:
- Fill the tank to the recommended level (typically 80% to allow for gas expansion)
- Check for leaks and ensure all connections are secure
- Answer any questions you might have about operating your system
7) Regular Maintenance and Inspections
Regular maintenance is essential to keep your propane system running efficiently and safely. Schedule annual inspections with your supplier, which typically include:
- Checking the tank, lines, and connections for wear or
- damage Testing regulators and valves
- Inspecting appliances and ensuring they are operating correctly
8) Monitor Your Propane Levels
Keep an eye on your propane levels to avoid running out. Many tanks have a gauge that shows the propane level as a percentage. Some suppliers offer automatic delivery services, where they monitor your usage and schedule deliveries accordingly.
9) Familiarize Yourself with Your Propane Appliances
Take the time to read the manuals for your propane appliances. Understanding their operation, maintenance needs, and safety features will help you use them efficiently and safely.
10) Prepare for Seasonal Changes
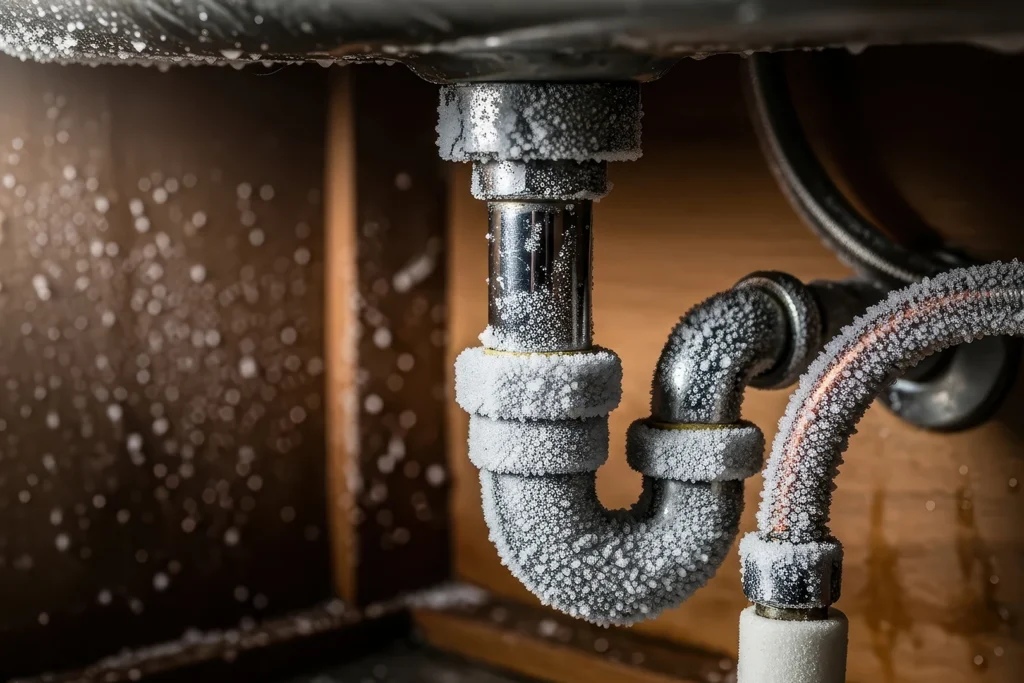
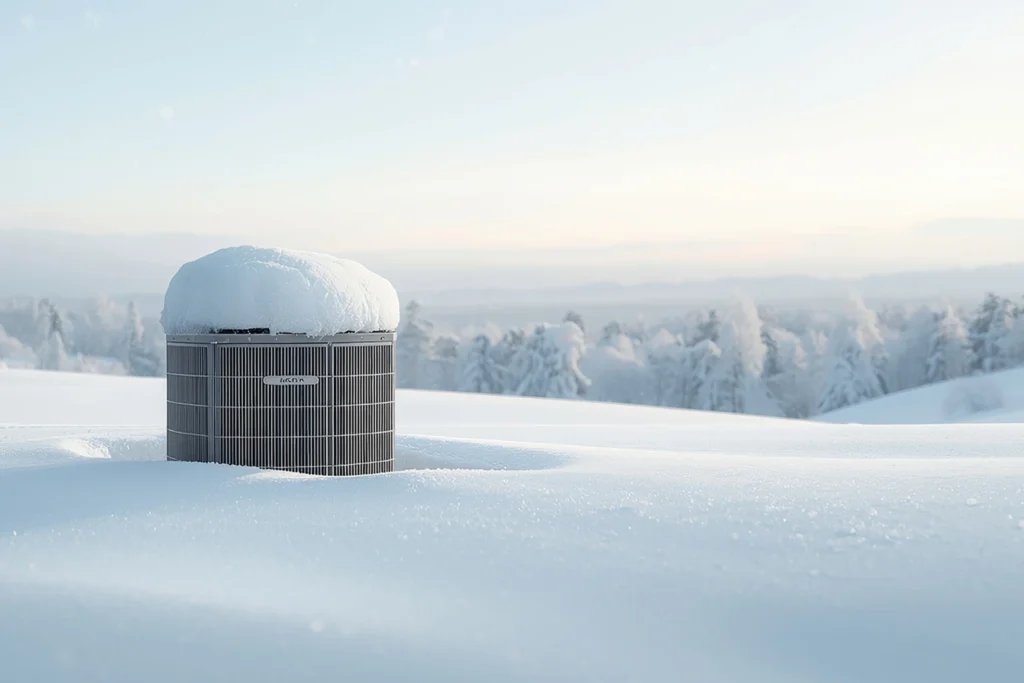
Propane usage can fluctuate with the seasons, mainly if you use it for heating. Before the colder months, check your tank levels and schedule a fill if necessary. Insulate your propane lines and tank to prevent freezing.
Conclusion
Switching to propane involves several steps, but with this complete checklist, you can ensure a smooth and safe transition from installation to your first fill. By partnering with a reputable supplier like Hop Energy and staying informed about your system’s maintenance and safety protocols, you’ll enjoy the many benefits of propane for years to come.


